 Anacortes Siding
 Burlington Homes Face a Specific Kind of Weather Wear
Burlington sits in the Skagit River valley, close enough to Padilla Bay and Puget Sound that homes here deal with damp, salt-tinged air on top of everything else Western Washington throws at a house. That combination — moisture-laden marine air, driving rain off the water, and long stretches of gray, low-sun months — is hard on exterior materials in ways that don't show up right away. Siding that looks fine for the first few years can be quietly absorbing moisture, hosting moss, or letting water track behind panels long before a homeowner notices a problem.
We install siding across Skagit County, and Burlington's low elevation, river valley humidity, and proximity to the water put it on the tougher end of that spectrum. A siding installation done right here has to account for constant moisture exposure, not just occasional rain.
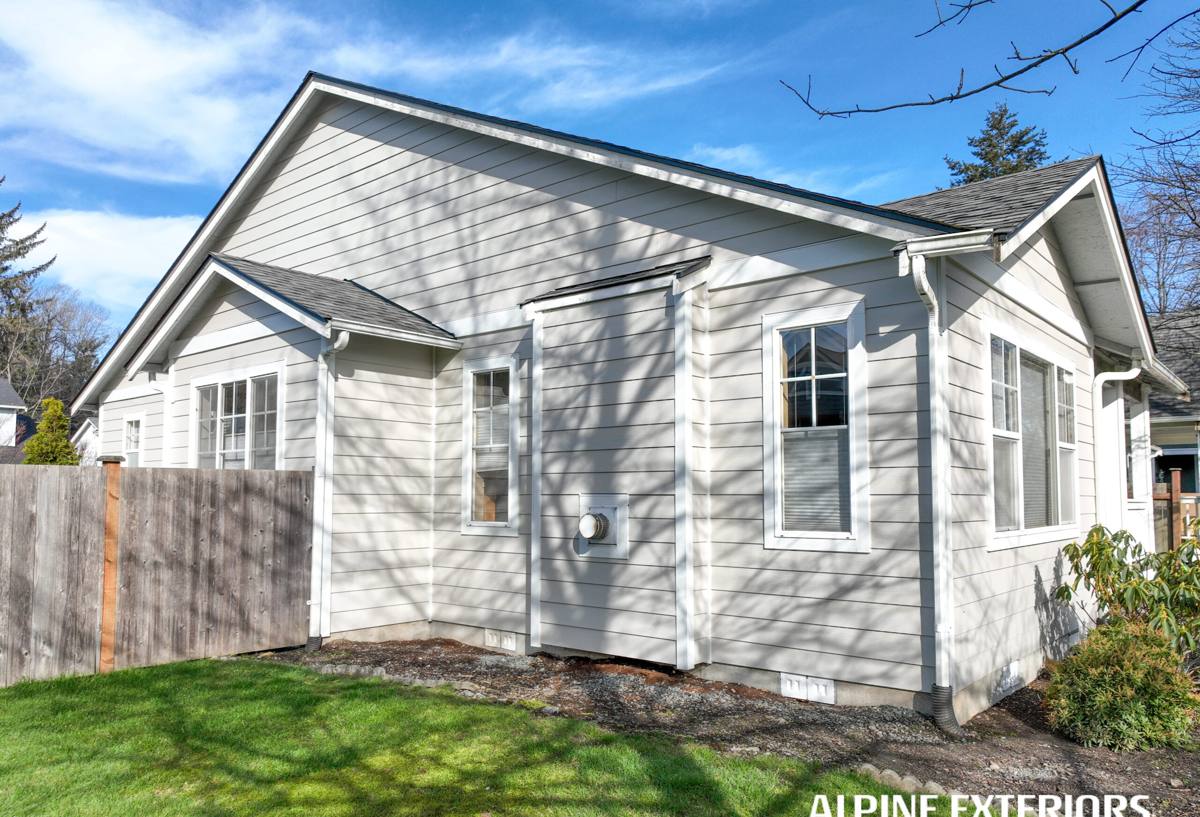
What Burlington's Climate Actually Does to Siding
Salt Air and Moisture
Even a few miles inland from Puget Sound and Padilla Bay, salt-laden air accelerates corrosion on exposed fasteners and metal trim, and it keeps humidity levels elevated even on days without rain. Materials that aren't built to shed moisture consistently start to show it in the form of soft spots, swelling, or discoloration.
Driving Rain
Skagit County storms often come with wind-driven rain rather than straight-down rain, which pushes water sideways into seams, laps, and trim joints. A siding system depends on correct overlap, flashing, and sealing at every transition to keep that wind-driven water out — gaps that would be harmless in a drier climate become real entry points here.
Moss and Prolonged Dampness
Burlington's shaded lots, tree cover, and long wet season give moss and algae months at a time to establish themselves on north-facing and shaded wall sections. Beyond the cosmetic issue, moss holds moisture against the siding surface, which is exactly what accelerates rot in wood-based products and coating failure in painted ones.
What Correct Siding Installation Involves
Siding is a water-management system, not just a decorative shell. A correct installation on a Burlington home includes:
- A continuous weather-resistant barrier behind the siding, installed without gaps or punctures that let water track to the sheathing
- Properly lapped and sealed flashing at every window, door, and roofline transition — the places most siding failures actually start
- Rain screen or drainage gap detailing where the wall assembly calls for it, so any moisture that gets behind the siding can drain and dry instead of sitting against the wall
- Correct fastener type, spacing, and depth for the specific siding product, following manufacturer specifications rather than generic guesses
- Proper clearance between the bottom of the siding and grade, decks, roofs, and other horizontal surfaces where water and debris collect
- Caulking and sealant used only where the manufacturer specifies it — oversealing traps moisture just as badly as undersealing lets it in
Skip or rush any one of these steps and the siding itself almost doesn't matter — water will find its way behind it eventually. This is why we treat installation detailing as equal in importance to the product itself.
Why We Install Only James Hardie Fiber Cement
We've made a deliberate choice to install James Hardie fiber cement siding exclusively — not vinyl, not LP SmartSide, not Cemplank or Allura, not primed spruce or cedar. That's not a marketing preference; it's a standard we hold because of what we've seen these products do, and not do, in a climate like Skagit County's over the long run.
James Hardie fiber cement is non-combustible, dimensionally stable, and manufactured in HZ product lines specifically engineered for different climate zones, including the wet, moderate-temperature conditions found here. Its ColorPlus factory-applied finish is baked on under controlled conditions, which gives it more consistent, longer-lasting color performance than field-applied paint on wood-based siding — a real advantage in a region where repainting means working around a lot of rain windows. Hardie backs its products with a strong transferable warranty, which matters to homeowners who plan to sell down the road.
None of that means other siding products are without merit — vinyl is inexpensive, LP SmartSide is workable in many climates, wood has real aesthetic appeal. But we build our business around one product installed correctly rather than several products installed adequately, and for Burlington's moisture load, fiber cement's stability and moisture resistance is what we're willing to stand behind.
Our Installation Process
1. On-Site Assessment
We start by walking the exterior, checking the current siding for signs of moisture intrusion, evaluating the sheathing underneath where accessible, and noting problem areas like shaded walls, poor drainage, or damaged trim.
2. Tear-Off and Sheathing Check
Old siding comes off and we inspect the sheathing and framing underneath for rot or water damage before anything new goes up. Hidden problems get addressed now, not covered over.
3. Weather Barrier and Flashing
We install the weather-resistant barrier and flashing system correctly at every penetration and transition — this layer does more long-term work than the siding itself.
4. Hardie Installation to Spec
Panels, planks, or shingles go up following James Hardie's installation guidelines exactly — fastener pattern, spacing, clearances, and joint treatment, all per manufacturer spec to keep the warranty intact.
5. Trim, Caulking, and Final Details
Trim work and sealant are finished last, using sealants appropriate for the specific joints and conditions, not a blanket "caulk everything" approach.
6. Final Walkthrough
We walk the finished job with the homeowner, point out where flashing and drainage detailing was done, and answer questions about upkeep going forward.
Signs a Burlington Home Needs Siding Attention
Some warning signs are obvious; others take a trained eye to catch during the wet months when everything looks a little damp anyway.
- Soft or spongy spots when pressing on siding, especially near the bottom courses
- Persistent moss or algae growth that returns quickly after cleaning
- Peeling, bubbling, or chalky paint on wood-based or older painted siding
- Visible gaps, warping, or buckling at seams and corners
- Musty smells or discoloration on interior walls that back up to exterior siding
- Siding that was installed with poor clearance to a deck, patio, or grade
Any of these on their own might be minor. Several together, especially on a home that's had the same siding for fifteen-plus years, usually means it's worth a professional look before a small problem becomes a sheathing replacement.
Cost Factors for Siding Installation
Every Burlington home is different, but the factors that move the price on a siding installation are fairly consistent. We give firm numbers only after an on-site assessment, but this is what typically drives the range:
| Factor | Why It Matters |
|---|---|
| Home size and wall complexity | More square footage and more corners, gables, and dormers mean more material and labor time |
| Existing siding removal | Tear-off of old siding, especially layered or damaged material, adds labor beyond a straightforward install |
| Sheathing or framing repair | Hidden moisture damage found during tear-off needs to be fixed before new siding goes on |
| Hardie product line and profile | Lap siding, shingle-style, and panel systems carry different material and labor costs |
| Color and finish selection | ColorPlus factory finishes versus field-painted options affect both cost and long-term maintenance |
| Trim, flashing, and detail work | Homes with more windows, doors, and rooflines require more flashing and trim detailing |
Why a Crew That Already Works Burlington Matters
Siding installation isn't just about following a manufacturer's manual — it's about applying that manual correctly to the specific conditions of a given wall, orientation, and lot. A crew that regularly works in Skagit County already knows which wall exposures on a Burlington property tend to hold moisture longest, how local moss growth patterns affect drainage detailing, and how wind-driven rain off the bay behaves against different home orientations. That local pattern recognition shows up in small decisions during installation — a little extra attention to flashing on a north-facing wall, or drainage detailing on a shaded lot — that a crew unfamiliar with the area might not think twice about.
It also means being available for questions or warranty follow-up without a long drive, and understanding local permitting and inspection expectations without a learning curve on someone else's project.
Caring for Hardie Siding After Installation
Fiber cement is low-maintenance compared to wood or vinyl, but "low-maintenance" isn't "no-maintenance" — especially in a climate that grows moss on almost anything left damp long enough.
- Rinse siding annually with a garden hose to clear pollen, dust, and early moss growth
- Trim back vegetation and tree limbs that keep wall sections shaded and damp
- Check caulking at trim and penetrations every couple of years and touch up as needed
- Keep gutters clear so overflow doesn't run down the siding face
- Address any impact damage or chips promptly to keep the factory finish protecting the substrate
If you're weighing a siding replacement on a Burlington home and want a straight answer about what your walls actually need, we're glad to take a look. The estimate is free, there's no pressure, and you'll get a clear explanation of what we see and what we'd recommend.