 Anacortes Siding
 Building New in La Conner? The Windows Only Get Installed Once
If you're framing a new home in La Conner, the window install happens at a stage where mistakes are cheap to fix on paper and expensive to fix in the wall. Once siding, trim, and interior finish go on, a bad flashing detail or a poorly sealed nailing fin turns into a hidden problem that doesn't show up until there's a water stain on a header two winters later. New-construction window work is one of those trades where doing it right the first time costs a little more attention up front and saves a full re-do later.
We're an Anacortes-based siding and exterior crew that also handles new-construction window installation, including jobs in La Conner and the surrounding Skagit County shoreline. This page is about that specific job: setting windows correctly into new framing on a home that has to hold up to this area's weather for decades, not just pass a walk-through.
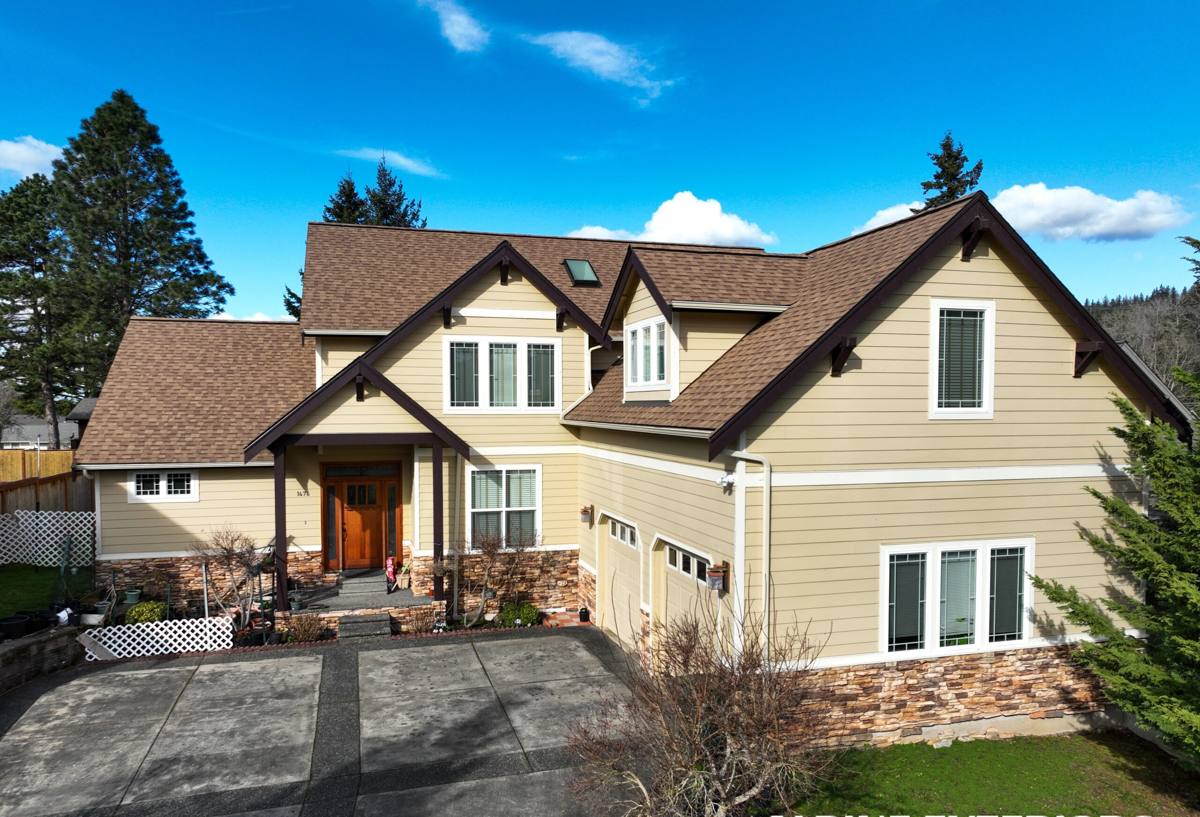
What La Conner's Climate Demands From a New Window Install
La Conner sits close to open water, and that changes what "correct installation" actually requires compared to a build further inland. Three things matter most here: salt-laden air, wind-driven rain off the water, and a long stretch of the year where surfaces stay damp enough to grow moss and algae.
Salt Air and Hardware
Airborne salt accelerates corrosion on fasteners, hinges, and cheaper flashing metals faster than most manufacturers' standard warranty testing accounts for. We pay attention to what fastener and flashing metal is going into a shoreline-adjacent build, not just what's cheapest to stock.
Wind-Driven Rain and Flashing
Storms off the water don't just drop rain straight down — they push it sideways into wall assemblies. A window that would stay dry in a calm rain can leak at the same install quality if the flashing isn't lapped correctly to shed water outward at every layer. This is the single most common point where a new-construction window install goes wrong, and it's invisible from the outside once siding covers it.
Moss Season and Drainage
Western Washington's damp months last a long time, and moss and algae will colonize any spot on a wall or sill that stays wet longer than it should. A window opening with poor drainage at the sill traps moisture right at the rough opening — exactly where you don't want organic growth working against the wood framing and sealants.
New-Construction vs. Replacement Windows — Why the Distinction Matters
Homeowners sometimes assume all windows install the same way. On a new build, they don't. New-construction windows have a nailing fin (or flange) around the frame that fastens directly to the wall sheathing before the weather-resistive barrier and siding go on. Replacement windows are built without that fin, sized to slide into an existing opening from the outside or inside after the wall is already finished. Using the wrong type, or installing the right type the wrong way, creates problems that are hard to trace later.
| Factor | New-Construction (Nail-Fin) | Replacement (Pocket) |
|---|---|---|
| When it's used | New framing, before siding and WRB go on | Existing wall, siding and trim already finished |
| How it fastens | Flange nailed/screwed to sheathing, integrated into the water-resistive barrier | Fits inside old frame, sealant-dependent at perimeter |
| Flashing control | Full control over sill pan, jamb, and head flashing sequencing | Limited to what the existing opening allows |
| Best fit for La Conner new builds | Yes — correct choice for framing-stage installs | Not applicable until the home is finished and windows need replacing later |
For a new-construction project, the nail-fin window installed at the framing stage is what lets us build a fully layered, shingle-lapped water management system into the wall — something you simply can't retrofit as well once the exterior is closed up.
What a Correct New-Construction Install Involves
"Installed" can mean a lot of different things depending on who's doing the work. On a home that has to handle salt air and driving rain for the next 30-plus years, these are the details that actually determine whether it stays dry:
- A sloped sill pan flashing under the window, so any water that gets past the glass or frame drains back outside instead of pooling in the rough opening
- Weather-resistive barrier integrated with the window flange in the correct shingle-lap order — head flashing over the siding paper, not under it
- Corrosion-appropriate fasteners at the nailing fin, especially on shoreline-facing walls
- Backer rod and sealant at the interior air seal, not just caulk smeared around the exterior trim
- Rough opening sized correctly to the manufacturer's tolerance — too tight or too loose both cause problems
- Insulation in the gap between the window frame and framing, without over-packing it and bowing the frame
- A final check that the window is plumb, level, and square before the fin is fully fastened off
Skip any one of these and the window can look fine and still fail. That's the frustrating part of this trade — a poor install and a good install are visually identical until the wall gets wet.
Choosing Frame Material for This Climate
Frame material affects how a window handles humidity, temperature swings, and salt exposure over time. There's no single right answer for every home, but here's how the common options actually compare for a La Conner build.
| Frame Material | Moisture & Salt Behavior | Maintenance | Typical Trade-offs |
|---|---|---|---|
| Vinyl | Doesn't corrode or rot; performs well near salt air | Low — occasional cleaning | Frame flexes more in large sizes; color choices are more limited |
| Fiberglass | Very stable dimensionally, handles humidity and temperature swings well | Low | Higher upfront cost than vinyl |
| Wood-clad | Exterior cladding protects the wood, but any breach in the cladding lets moisture reach bare wood | Higher — cladding seams and interior wood finish need attention | Best interior look for some homeowners, but least forgiving of installation or sealant failure in this climate |
| Aluminum | Conducts heat and cold, prone to condensation; can corrode without proper coating near salt air | Moderate | We don't recommend it for uncoated shoreline-adjacent applications for this reason |
We'll walk through this with you based on your home's exposure, budget, and design goals rather than pushing one material by default.
Our Process, Start to Finish
New-construction window work has to line up with your builder's schedule, so we keep the process straightforward and coordinated rather than treating it as a separate job that happens whenever it happens.
- Plan review and rough-opening verification — we confirm window sizes and locations against the framing plans before anything is ordered.
- Ordering — windows are ordered to match verified rough openings, with enough lead time built in for manufacturing.
- Pre-install inspection — we check that rough openings are square, correctly sized, and that sheathing is ready for the WRB before a single window goes in.
- Sill pan and flashing installation — done before the window is set, not patched in afterward.
- Window setting — plumb, level, square, and fastened to the manufacturer's specified pattern.
- WRB and flashing integration — head, jamb, and sill flashing tied into the weather-resistive barrier in the correct shingle-lap order.
- Interior air sealing and insulation — sealed and insulated without over-compressing the frame.
- Final walkthrough — operation, seal, and squareness checked before we sign off and the siding crew moves in behind us.
Cost Factors for a New-Construction Window Package
Every new build is different, so we won't quote a number without seeing your plans, but these are the factors that actually move the price on a La Conner window package:
| Factor | How It Affects Cost |
|---|---|
| Number and size of openings | More and larger units increase both material and labor |
| Frame material | Vinyl is typically the most economical; fiberglass and wood-clad cost more upfront |
| Glass package | Upgraded glass (better U-factor, tinted, or impact-resistant options) adds cost but affects comfort and durability |
| Grille patterns and custom shapes | Custom grilles, arched tops, or non-standard shapes add manufacturing time and cost |
| Site access and scheduling | Coordinating tightly with a builder's framing schedule is usually smoother than a stand-alone retrofit, which can reduce labor complications |
Coordinating With Your Builder, GC, and Siding Crew
On a new build, the window installer isn't working in isolation — the framer, the GC, and whoever's installing the siding all touch the same wall assembly. We coordinate directly with your builder on timing, confirm rough openings before ordering, and hand off a wall that's ready for siding without any flashing details left unresolved. Since we do siding work ourselves, we install windows with the finished siding assembly already in mind — the WRB laps, the flashing order, and the drainage path are built to work with whatever cladding is going on next, not just to pass a window inspection in isolation.
Why Hire a Crew That Already Works La Conner
A lot of window installation problems in this region trace back to details that generic installation guides don't cover — how much wind-driven rain a specific wall orientation actually takes, what fastener corrosion looks like a few years into a shoreline exposure, or how long a sill stays damp during a wet Skagit County winter. A crew that already works La Conner and the Anacortes area has seen those conditions play out on real houses, not just in a manufacturer's install manual. That local experience shows up in the small decisions — flashing laps, fastener choice, drainage detailing — that determine whether a new-construction window install is still performing correctly ten or twenty years from now.
If you're planning a new build in La Conner and want windows installed correctly the first time, we're happy to walk your plans with you and put together a free, no-pressure estimate. There's a form below — reach out and we'll go from there.