 Anacortes Siding
 New-Construction Windows for Burlington Builds
Burlington sits inland from the saltwater of Fidalgo Bay and Rosario Strait, but it still gets the same wet weather pattern that shapes construction across Skagit County — long stretches of driving rain from fall through spring, humidity that never fully lets up, and a moss season that finds every shaded, north-facing surface on a house. When you're building new, the window installation is one of the few chances you get to build moisture management into the wall assembly correctly the first time, rather than fighting it later. We install new-construction windows on homes and additions in the Burlington area, working directly with builders, framers, and homeowners managing their own project.
New-construction windows are different from replacement windows in a way that matters a lot for how they perform. They have a nailing fin around the perimeter that gets integrated into the wall's weather-resistive barrier (WRB) and flashing system before siding goes on. Done right, that window becomes part of a continuous drainage plane that sheds water down and out, away from the framing. Done wrong — even with an expensive, well-made window — you get a leak path that can sit hidden inside the wall for years before it shows up as a stain, soft trim, or a mold smell in a closet.
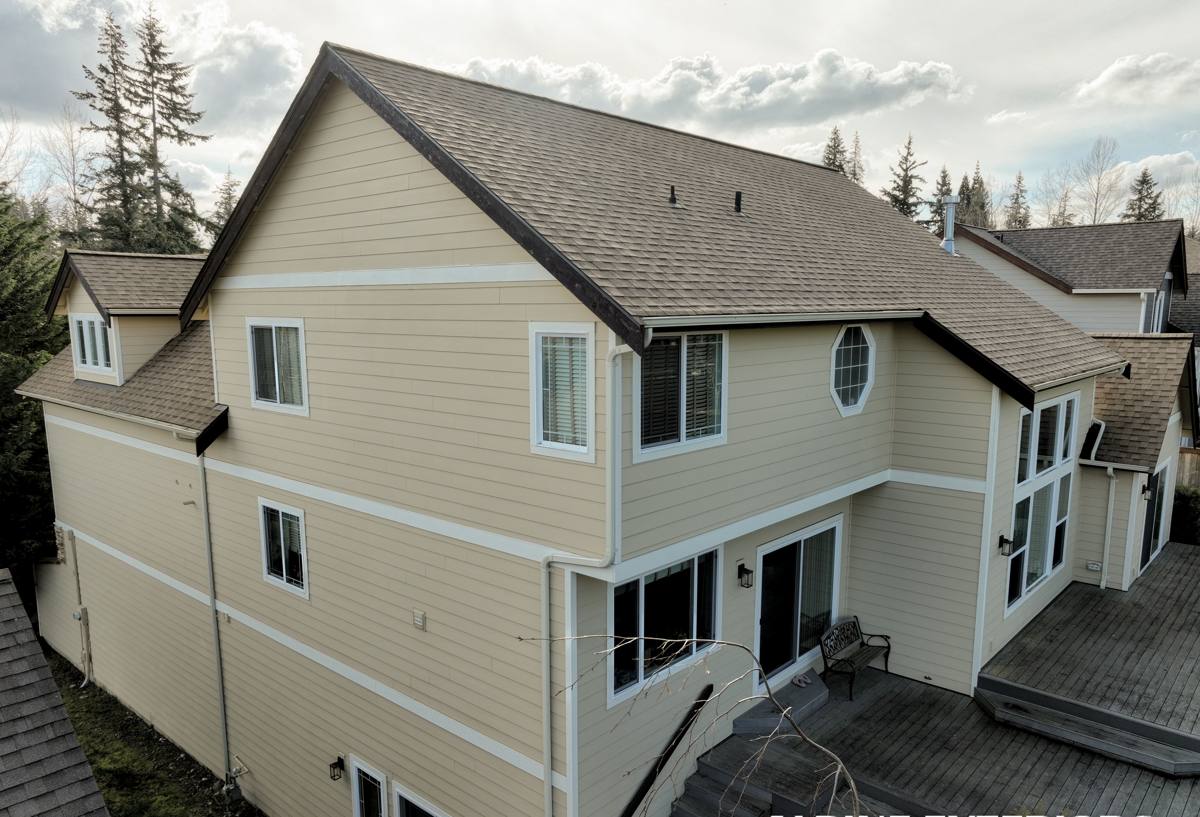
What Burlington's Climate Demands From a Window Install
Skagit County's weather isn't dramatic, but it's relentless, and that's exactly what makes window flashing details matter more here than in a drier climate. A few things we plan for on every new-construction job in this area:
- Sustained wind-driven rain: Storms off the Salish Sea push rain sideways into west and south-facing walls for hours or days at a time, which tests sill pan drainage and head flashing far harder than an occasional downpour would.
- Persistent humidity: Even on dry days, ambient moisture stays high enough that any water trapped behind siding or trim takes a long time to dry out, so small flashing mistakes compound instead of self-correcting.
- Moss and organic growth: Shaded elevations and anything under overhangs or trees accumulate moss and algae, which holds moisture against the window trim and siding longer than a clean, sun-exposed wall.
- Salt-tinged air moving inland: Weather systems off Fidalgo Bay and the Sound carry salt-laden moisture into the county's inland communities, which is one more reason we lean on corrosion-resistant fasteners and flashing metals rather than the cheapest option available.
None of this means Burlington needs exotic materials. It means the standard details — sill pans, flashing tape sequencing, proper flange nailing, and correct sealant placement — have to be done correctly every single time, because this climate doesn't forgive shortcuts the way a dry climate might.
What a Correct New-Construction Window Install Involves
Sill Pan Flashing
Every rough opening should get a sloped, sealed pan at the sill before the window ever goes in. This is the single most important detail on the whole install — it's the backstop that catches any water that gets past the window itself and directs it back outside instead of into the framing. We build a proper pan on every opening; we don't skip it because the window has its own weep system.
WRB and Flashing Tape Sequencing
Flashing has to be layered like shingles — each piece overlapping the one below it — so water always drains down and over, never into a seam. Side flashing goes over the sill pan; the housewrap or building paper above the window goes over the head flashing. Get the order backward and you've built a water trap instead of a drainage path.
Nailing Fin Attachment
The window's nailing fin has to be fastened per the manufacturer's schedule — spacing, fastener type, and location around the perimeter — to hold both the window's structural performance and its warranty. We follow manufacturer instructions exactly rather than "close enough," because warranty claims are frequently denied over installation deviations that have nothing to do with the window itself.
Sealant and Backer Rod
Sealant is a backup, not the primary defense — but it still needs to be the right product, applied to clean surfaces, with backer rod where gaps are too wide for sealant alone to bridge properly. We don't rely on a bead of caulk to do a flashing detail's job.
Air Sealing and Insulation at the Rough Opening
The gap between the window frame and the rough framing needs to be sealed and insulated without over-packing it, which can bow the frame and cause the window to operate poorly or seal unevenly. This affects both energy performance and long-term comfort in the finished room.
How We Approach a Job in Burlington
- Plan review and coordination: We look at the window schedule, rough opening sizes, and wall assembly with the builder or homeowner before install day, so there are no surprises about sizing or product specs.
- Rough opening check: Every opening gets checked for square, level, and correct dimensions before a window goes in. Framing tolerances vary, and catching an issue here is far cheaper than catching it after siding is on.
- Sill pan and flashing install: Pan flashing, side flashing, and head flashing go in sequence, tied into the WRB per a shingle-lap approach.
- Window set and fastening: The window is set, shimmed, checked for square and plumb, and fastened to the manufacturer's schedule.
- Interior and exterior seal: Insulation, air sealing, and exterior sealant are completed and the opening is ready for siding or trim.
- Final check: We confirm the window operates smoothly, latches correctly, and that flashing laps are correct before we consider the opening closed out.
Choosing Windows for a Skagit County Build
We install a range of window lines and don't push one brand as the only option, because the right choice depends on budget, style, and how the wall assembly is built. What we do insist on across every brand: proper flashing flanges, a documented installation instruction sheet we can follow to the letter, and a warranty that's actually honored when a claim is filed correctly. A few honest trade-offs worth knowing before you spec a build:
| Frame Material | Strengths | Trade-offs in This Climate |
|---|---|---|
| Vinyl | Cost-effective, low maintenance, good energy performance | Can expand/contract with temperature swings; quality varies widely by manufacturer |
| Fiberglass | Very stable dimensionally, holds paint well, strong warranty support from most major lines | Higher upfront cost than vinyl |
| Wood/Wood-clad | Traditional look, good insulator | Exterior wood needs ongoing maintenance in a wet climate unless well-clad |
| Aluminum | Slim sightlines, strong for large openings | Poor thermal performance unless thermally broken; more prone to condensation |
For most Burlington builds, vinyl and fiberglass cover the vast majority of budgets and performance needs. We'll walk through the actual product lines available and their documented specs during your estimate rather than steering you toward whatever's easiest for us to install.
Why the Installer Matters as Much as the Window
A window's published performance numbers — U-factor, air infiltration rating, water resistance — are tested under lab conditions with a correctly executed installation. A poorly flashed install can undercut all of that on day one, regardless of how good the window itself is. This is why we treat the flashing and integration work as equally important to the product selection. A mid-range window installed correctly will outperform a premium window installed with shortcuts, every time, in a climate like this one.
Working new-construction jobs in and around Burlington regularly also means we're familiar with how local siding types, WRB products, and framing practices typically come together here, so our flashing sequencing matches what's actually going up around the window rather than a generic national detail that doesn't quite fit the wall assembly being used.
Before You Close Up the Wall: A Practical Checklist
Whether we're doing the install or you're coordinating with a framer, these are the items worth confirming before siding covers the window openings for good:
- Sill pans are installed at every opening, sloped to drain outward
- Flashing tape is lapped shingle-style — side flashing over the pan, WRB over the head flashing
- Nailing fins are fastened per the manufacturer's exact schedule
- Windows check square, plumb, and level, and operate smoothly before closing the wall
- Rough opening gaps are insulated without overpacking the shim space
- Exterior sealant is applied only where it's a backup, not a substitute for flashing
- Manufacturer installation instructions are kept on file in case a warranty claim comes up later
Timeline and Coordination on a Build
Window installs on new construction have to land in the schedule after rough framing and WRB, but before siding starts — a narrow window in more ways than one. We coordinate directly with builders to hit that slot without holding up the rest of the crew, and we flag any rough opening issues immediately rather than working around them, since a framing correction is much easier to make before trim and siding go on than after.
If you're planning a new build or addition in Burlington and want windows installed the right way the first time, we're happy to walk the plans and give you a straightforward, no-pressure estimate — just fill out the form below.