 Anacortes Siding
 Why Cap Sante Siding Wears Differently Than the Rest of Anacortes
Cap Sante sits up on the bluff overlooking the marina, exposed to wind and moisture in a way that inland Anacortes and Skagit County neighborhoods simply aren't. Homes here catch salt-laden air coming off the water, take driving rain on the walls that face the channel, and sit under tree cover or shaded north walls for much of the year — which is exactly the combination that shortens the life of siding. We've repaired enough exterior walls in this part of town to know the damage pattern isn't random. It shows up first at trim joints, butt seams, and anywhere caulk has started to crack, and it shows up faster here than it would three miles inland.
Salt air is corrosive to metal fasteners, flashing, and hardware long before most homeowners notice a problem with the siding itself. Combine that with wind-driven rain that gets pushed sideways into laps and joints instead of just running down the face of the wall, and you get moisture intrusion that starts behind the siding — not on top of it. By the time a stain or soft spot shows up on the surface, there's a good chance water has already been working behind the wall for a season or two.
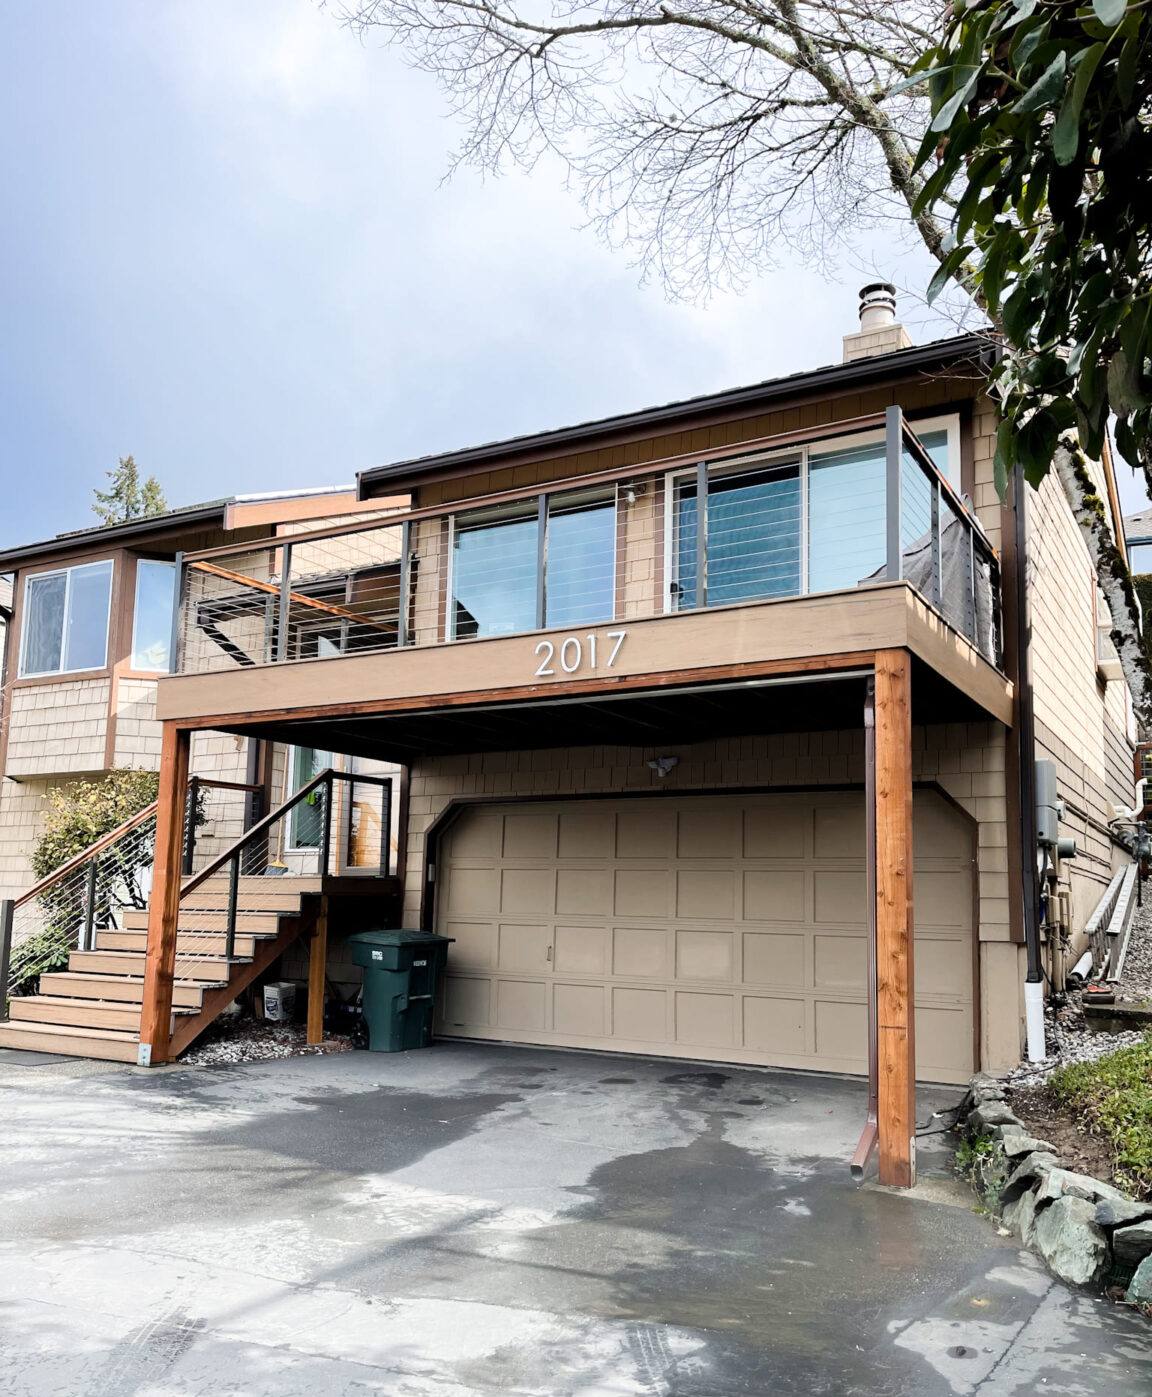
Signs Your Cap Sante Home Needs Siding Repair
Most siding problems give warning signs well before they become structural. Walking your exterior once or twice a year, especially after the wet season, is the cheapest inspection you'll ever do. Look for:
- Soft or spongy spots when you press on the siding, especially near the bottom courses and around window trim
- Visible gaps, cracking, or curling at seams and butt joints
- Paint that's bubbling, peeling, or failing faster in one area than the rest of the house
- Dark streaking, green film, or thick moss buildup, particularly on north- and west-facing walls
- Rust staining below nail heads or trim fasteners
- Gaps or separation where siding meets window and door trim
- A musty smell or visible staining on interior walls that share an exterior with a suspect area
Any one of these on its own might be minor. Several together, especially clustered around one section of wall, usually means water has found a path in and needs to be traced back to its source — not just covered up.
What a Correct Repair Actually Involves
It's Not Just Patching the Surface
A repair that only replaces the visible damaged board is a cosmetic fix, not a real one. If water got behind the siding in the first place, something let it in — a failed caulk joint, a nail that backed out, damaged flashing above a window, or a gap in the weather-resistive barrier (WRB) underneath. Repairing correctly means finding that entry point and fixing it, not just swapping out the board that happened to show the stain.
Checking What's Underneath
Once damaged siding is pulled, we look at the condition of the underlying WRB or building paper, the sheathing, and the framing at that spot. In most cases this is fine and the repair is straightforward. Occasionally there's sheathing that's gone soft or framing that's taken on moisture, and that changes the scope of the job — better to know that before the wall is closed back up than to find out two years later.
Fasteners and Flashing Matter as Much as the Board
On a Cap Sante home, we pay particular attention to fastener condition and flashing detail during any repair, because salt air accelerates corrosion on standard fasteners and speeds up the failure of aging flashing. Replacing a damaged section of siding with the same corroding fasteners and the same undersized flashing just resets the clock on the same failure.
Repair vs. Replace: How to Think About Scope
Not every damaged section calls for the same response. The table below is a general guide to how we think through scope on a repair call — every home is different, but this covers the common scenarios.
| Situation | Typical Approach | What to Watch For |
|---|---|---|
| Isolated damage at one board or joint, sound wall otherwise | Spot repair — remove and replace the affected section, correct the underlying cause | Confirm the WRB and flashing at that spot are intact before closing it up |
| Damage clustered on one wall or elevation (often the one taking the most weather) | Section or elevation-level repair | Check whether the exposure that caused it will keep causing it — sometimes a flashing or drainage fix is needed alongside the siding work |
| Widespread moisture damage, soft sheathing, or repeated failures across multiple walls | Full re-side is usually more cost-effective than chasing repeated repairs | Get an honest opinion — a contractor who only does repairs has less incentive to tell you this |
| Old siding nearing the end of its service life with new damage on top | Depends on age, material, and remaining life — worth a real evaluation before spending on a patch | A repair on siding that's already failing broadly can end up being money spent twice |
Matching Material When You Repair
What we can repair honestly depends on what's already on the house. A lot of Cap Sante homes still have cedar, older vinyl, or LP-style siding, and we'll repair those where it makes sense — but we're upfront that we only install James Hardie fiber cement for full sections, panels, or elevations, because that's the product we stand behind. If your existing siding is one of those other materials and the damage is limited, patch repair in kind is often the right call. If the damage is extensive enough that a larger section needs replacing, we'll walk you through the honest trade-off between matching the old material and transitioning that section — or eventually the whole house — to Hardie.
When repair work does involve installing new Hardie board — say, replacing a damaged section next to existing Hardie siding — factory ColorPlus finish is a real advantage. Because the color is baked on at the factory rather than field-applied, a correctly matched replacement board blends in far better than a repainted patch ever will, and it carries its own finish warranty separate from the substrate.
Our Repair Process
- Inspection and diagnosis. We walk the exterior, identify all visible damage, and check adjacent areas that often hide related problems — trim, flashing, caulk lines, and lower courses.
- Moisture check. Where there's any sign of past water intrusion, we check moisture content in the affected area rather than guessing from the surface.
- Scope and honest recommendation. We tell you plainly whether this is a spot repair, a larger section, or something where full replacement makes more financial sense than repeated patching.
- Root-cause correction. Any failed flashing, caulk, or fastener issue behind the damage gets fixed as part of the repair — not left for next time.
- Material match and finish. We match existing siding where reasonable, or use factory-finished Hardie board where new material is going in.
- Cleanup and final check. We confirm the repaired area sheds water correctly before we consider the job done.
Why a Crew That Already Works Cap Sante Matters
Repair work on a bluff-side, water-exposed home isn't quite the same as repair work three streets back from the water. A contractor who's already worked this part of Anacortes knows which elevations tend to take the worst of the wind-driven rain, understands how salt exposure shortens the service life of standard fasteners and hardware, and has a realistic sense of what access and staging look like on hillside lots. That local familiarity shows up in small decisions — which fasteners to spec, how much flashing overlap to use, where to expect the next problem — that a crew unfamiliar with the area might not think to make.
It also matters for permitting and code awareness specific to Skagit County and the City of Anacortes. Most siding repairs don't require a permit, but larger-scope work or repairs that touch structural sheathing can, and knowing the local requirements up front avoids delays.
Maintaining Repaired Siding Through Moss Season
A good repair buys you time, but Skagit County's long wet season doesn't take a break. Moss and algae growth on shaded or north-facing walls trap moisture against the siding surface, and over years that constant dampness is hard on paint, caulk, and the material underneath — including around a recent repair. Keeping gutters clear, trimming back vegetation that shades and dampens a wall, and rinsing visible moss and algae buildup before it thickens all go a long way toward protecting the work you just paid for. If a repaired area starts showing the same signs of trouble again within a season or two, that's usually a sign the underlying cause wasn't fully addressed the first time — worth a second look rather than another patch.
If you're seeing soft spots, staining, or persistent moss on your Cap Sante home's siding, we're happy to take a look and give you a straight answer on what it actually needs. Fill out the form below for a free, no-pressure estimate.