 Anacortes Siding
 Building New in Edison Means Building for Water, Not Against It
Edison sits in the flats between Bow Hill and Samish Bay, close enough to salt water and tide flats that the air carries salt most days of the year, and close enough to the foothills that rain moves through in long, driving spells rather than quick showers. If you're framing a new house or an addition out here, the window openings are one of the few places in the entire building envelope where you're intentionally cutting a hole in your weather barrier. How that hole gets flashed, sealed, and drained decides whether the wall around it stays dry for the next thirty years or starts rotting from the inside where nobody can see it until the siding comes off.
New construction is actually the best possible time to get this right. Once siding, trim, and interior finishes are in place, correcting a bad window installation means tearing into finished work. On a new build, we're installing into open studs with full access to the sheathing, the weather-resistive barrier, and the rough opening framing. There's no excuse for cutting corners at this stage, and no reason to.
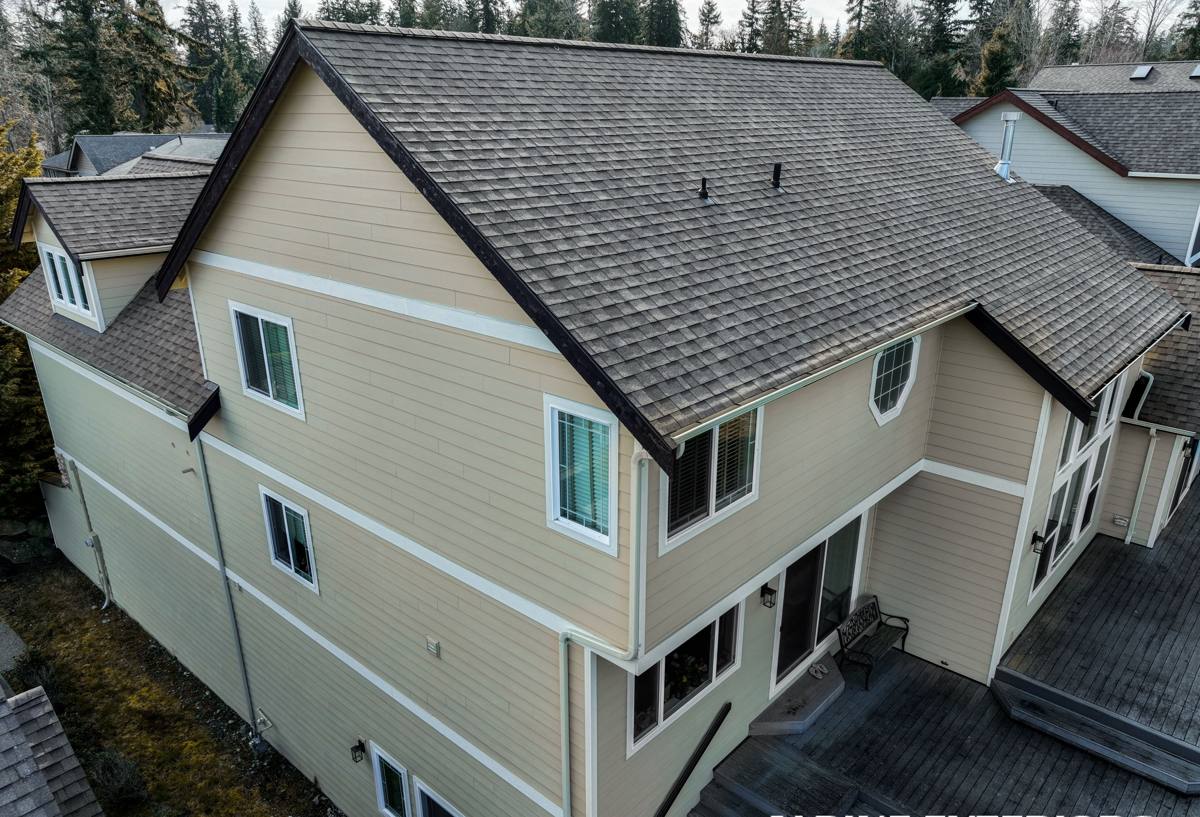
What Skagit County's Climate Actually Does to a Window Opening
People who haven't lived out here tend to picture "rainy Pacific Northwest" as the whole story. What actually stresses a window installation in Edison specifically is a combination of three things happening together.
Salt Air
Proximity to Samish Bay and the greater Puget Sound means airborne salt settles on exterior surfaces, including window frames, fasteners, and flashing metal. Salt accelerates corrosion on anything that isn't rated for it — cheap fasteners, unclad aluminum trim, and some flashing tapes lose their bond or their finish faster near open water than they would twenty miles inland.
Driving, Wind-Driven Rain
Storms coming off the water push rain sideways, not just down. A window flashing detail that works fine in a light straight-down rain can fail under wind-driven rain because water gets forced up and under laps that were never meant to handle upward pressure. This is the single biggest reason we see water intrusion at window openings in this area — not a bad window, but a flashing sequence that wasn't built to shed water moving sideways and up.
A Long Moss and Mildew Season
Cool, damp conditions for much of the year mean anything that stays wet — sills, trim, sealant joints — grows moss, algae, and mildew if it can't dry out between rains. A window opening that drains properly stays dry enough to resist this. One that traps water behind the trim or in the sill pan stays damp long after the rain stops, and that's where moss gets a foothold and where rot starts underneath.
What a Correct New-Construction Window Installation Involves
There's a specific order of operations for installing a window into a new rough opening, and skipping steps or doing them out of sequence is how leaks happen years later. Here's the sequence we follow on new-construction jobs in the Edison area.
- Rough opening check: confirm the opening is square, plumb, and sized correctly before the window ever shows up on site.
- Sill pan flashing: a sloped, sealed pan at the bottom of the opening so any water that gets past the window has somewhere to go — out, not into the wall.
- Weather-resistive barrier integration: the house wrap or building paper is lapped correctly around the opening before flashing tape goes on, following a shingle-style sequence so every layer sheds water onto the layer below it.
- Window-specific flashing tape at jambs and head: applied in the correct order — sill, jambs, then head — so water always moves downward and outward, never into a seam.
- Setting the window: shimmed level, plumb, and square, fastened per the manufacturer's schedule, not just "however many screws fit."
- Head flashing with a drip cap: directs water out and away from the top of the window rather than letting it run down the face of the wall and back toward the frame.
- Backer rod and sealant at the exterior trim joint: sized and installed correctly so the joint can flex with temperature changes without cracking open.
- Interior air seal: a continuous air seal around the interior of the frame, separate from the exterior weatherproofing, which also helps with energy performance and condensation control.
Every one of those steps matters on its own, but the sequence matters just as much. Flashing installed out of order can actually funnel water into the wall instead of away from it — a flashing job that looks complete from the outside can still be built backward underneath.
How Our Process Works on Edison New Builds
We work new-construction window installs the same way whether it's a single custom home or a small addition, because the fundamentals don't change with the size of the project.
1. Framing Walkthrough
Before windows arrive, we walk the rough openings with the builder or homeowner to confirm sizing, check for square, and flag anything that needs correction before it becomes a bigger problem once trim is on.
2. Flashing and Weather Barrier Installation
We install sill pans, integrate the weather-resistive barrier, and apply flashing tape in the correct shingle-lap sequence at every opening, using materials rated to hold up to salt air and sustained damp exposure rather than the cheapest tape available.
3. Window Setting
Windows are set level, plumb, and square, shimmed and fastened to manufacturer specification. We check reveal and operation on every unit before moving on — a window that's slightly out of square will bind, won't seal evenly, and will wear its weatherstripping unevenly for the life of the house.
4. Head Flashing and Exterior Trim Prep
Head flashing goes on before siding and trim close in around the opening, so water is directed out and away rather than trapped behind finish materials.
5. Final Seal and Walkthrough
Once siding and trim are complete, we do a final check of every opening — sealant joints, operation, and drainage — before calling the job done.
Choosing Windows for a Site Like Edison
We don't push one brand as the only acceptable option, because the right window depends on the house, the budget, and how exposed the specific wall is to wind and salt spray. What we do steer people toward, consistently, is vinyl or fiberglass frames with quality weatherstripping and corrosion-resistant hardware, because they hold up better than bare aluminum in a salt-air environment without the maintenance burden of a frame that needs regular refinishing. Wood-clad windows can look excellent, but the cladding and any exposed wood detailing need real maintenance discipline in this climate — that's a trade-off we'll walk through honestly rather than talk anyone out of a look they want.
Frame Material Comparison for a Coastal Skagit County Build
| Frame Type | Salt Air / Corrosion Resistance | Maintenance | Typical Fit |
|---|---|---|---|
| Vinyl | Good — no corrosion, UV-stable finishes | Low — occasional cleaning | Most builds, budget-conscious to mid-range |
| Fiberglass | Very good — dimensionally stable, resists pitting | Low | Higher-end builds, larger openings |
| Wood-clad | Fair — cladding protects wood, but seams need monitoring | Moderate to high | Traditional or custom-look homes |
| Bare aluminum | Poor near open water without special coatings | High | Generally not recommended this close to the bay |
Energy Performance in a Marine Climate
Anacortes and Edison sit in a mild but consistently damp climate, so window performance here is less about extreme heat or cold and more about controlling condensation and drafts through a long cool, wet season. Look for a U-factor suited to Northwest conditions and pay attention to the window's air infiltration rating — a well-sealed, well-flashed window with a modest U-factor will often outperform an expensive high-spec window that was installed with sloppy flashing, because air leaks and water intrusion undo a lot of the benefit a good window is supposed to provide.
Common Mistakes We Fix or Avoid
Some of the most common issues we see in new-construction window work in this region — whether from a rushed schedule or a crew unfamiliar with coastal conditions — include:
- Skipping the sill pan or improvising one from leftover flashing tape instead of a proper sloped pan.
- Flashing tape applied in the wrong order (head before jambs, for instance), which can direct water into the wall rather than out of it.
- Using standard fasteners instead of corrosion-resistant hardware in a salt-exposed wall.
- Over-caulking as a substitute for proper flashing — sealant is a backup layer, not the primary water management system.
- Leaving weep holes or drainage paths blocked by trim or insulation, which traps moisture instead of letting it escape.
Why It Matters to Hire a Crew That Already Works in Edison
Window installation details that work fine in a dry inland climate aren't automatically adequate a few miles from Samish Bay. A crew that installs windows across a range of Skagit County conditions — from drier inland lots to exposed waterfront walls — learns to read a site and adjust flashing and material choices accordingly, rather than following one generic spec regardless of exposure. We've installed and flashed openings across this area long enough to know which walls need extra attention for wind-driven rain, and we build that judgment into every new-construction job, not just the ones that look obviously exposed.
New construction only gives you one real shot at doing the window openings right before they're buried under siding and trim. If you're planning a new build or addition in the Edison area and want a straightforward look at what your project needs, we're happy to walk the site, review your window plans, and put together a free, no-pressure estimate.