 Anacortes Siding
 New-Construction Windows, Done Right From the Framing Stage
New-construction window installation is a different job than swapping out an old window in an existing wall. When a home in the Skyline area is being framed, or a room addition is going up, the windows go in with a nailing flange that ties directly into the wall's structural sheathing and water-resistive barrier (WRB) before siding ever goes on. Get that sequence right and the window becomes part of a continuous drainage plane. Get it wrong and you've built a leak path into the wall that won't show up as a problem for a few years — right about the time drywall, insulation, and framing underneath start absorbing water nobody can see.
We install new-construction windows for builders, remodelers, and homeowners working on additions in and around the Skyline neighborhood near Anacortes. This page is about that specific job — flange windows going into new framing — not the pocket-replacement work we also do on older homes.
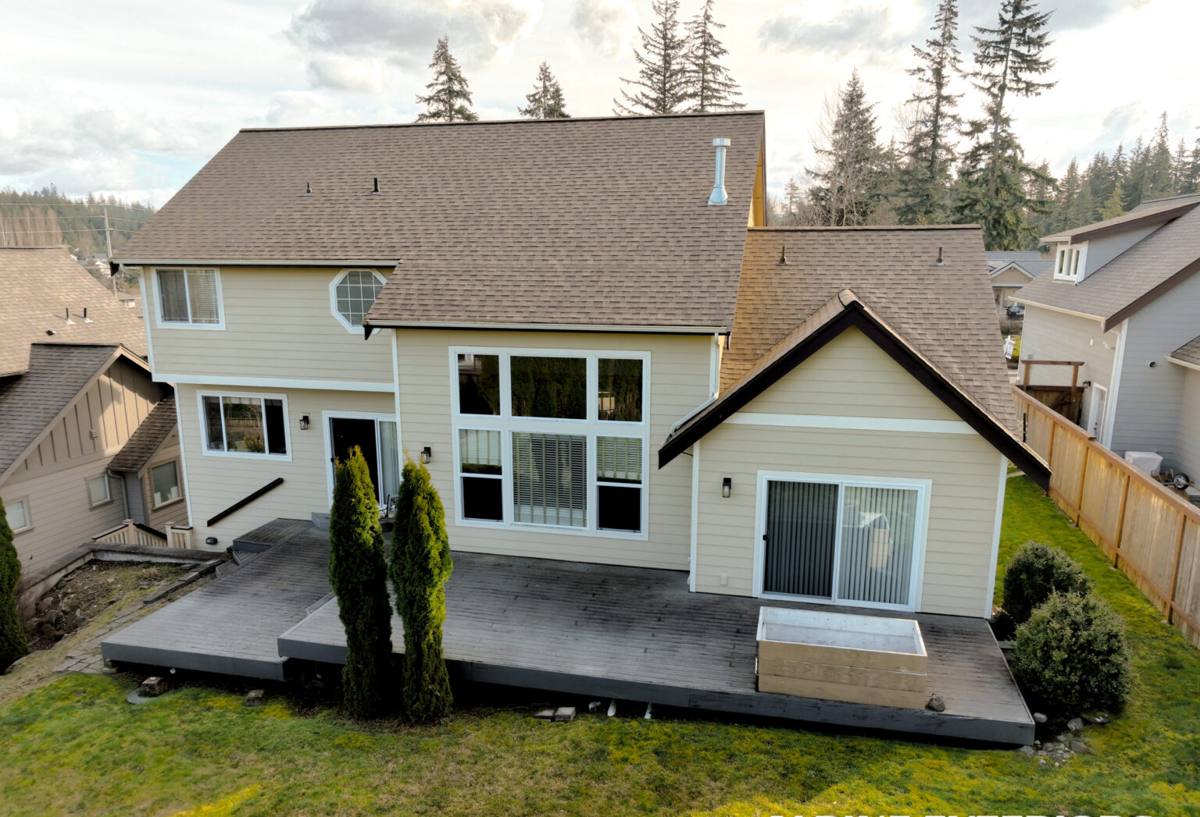
Why Skyline's Location Makes the Install Sequence Matter More
Skyline sits close enough to the water that salt-laden air is a constant, not an occasional event. Combined with the driving rain that comes through Skagit County off the Sound and a wet season that runs long, the wall assembly behind every window has to handle more moisture exposure over its life than a comparable home twenty miles inland. Add the region's long moss season — mossy, shaded roof and wall surfaces that stay damp longer after every rain — and you've got conditions that punish shortcuts in window flashing and sealant work faster than a drier climate would.
None of this means new-construction windows here need exotic materials. It means the basics — sill pan flashing, correct flange integration with the WRB, proper head flashing, and sealant that's actually compatible with the window and siding materials being used — have to be done correctly every time, because there's little margin for a install that's "close enough."
What Salt Air Does to Window Hardware and Finishes
Salt-laden air accelerates corrosion on fasteners, hinges, and cladding finishes that aren't rated for coastal exposure. On a new-construction job this shows up years later as pitted hardware, streaking on vinyl or fiberglass frames, or fastener corrosion that stains the siding below the window. Choosing corrosion-resistant fasteners and hardware at install time costs little extra and avoids a callback down the road.
What Driving Rain Does to a Bad Flashing Job
Driving rain doesn't just fall on a window — it gets pushed sideways and upward under the right wind conditions. A window flange that's taped or sealed incorrectly, or a sill pan that's missing or poorly formed, will let wind-driven rain track behind the WRB. That's the single most common cause of hidden rot we find when we open up walls on older homes in this region, and it's entirely preventable at the new-construction stage.
What a Correct New-Construction Window Install Involves
There's a specific order of operations for a flange window going into new framing, and skipping steps or doing them out of order is where problems start. A correct install includes:
- Rough opening checked for square, level, and correct dimensions before the window ever goes near it
- Sill pan flashing installed and sloped to drain water forward, out of the wall, not backward into it
- Window set into the opening, shimmed and fastened per the manufacturer's instructions — not "close enough" spacing
- Flange integrated with the WRB in proper shingle-lap order: sides first, then head, so water sheds downward and outward at every layer
- Head flashing installed above the window, lapped over the WRB above it
- Sealant used only where the manufacturer specifies it — sealing the wrong spots can trap water instead of keeping it out
- Interior and exterior gaps insulated and sealed for air infiltration, not just water
Every one of those steps is inspectable, and on a job we run, every one of them gets checked before siding closes over it. Once siding goes on, the flashing details are hidden for the life of the house — that's the point in the process where mistakes stop being fixable without tearing into finished work.
Choosing Windows for This Climate
Frame material, glass package, and hardware all affect how a window holds up under salt air and sustained wet weather. There's no single "correct" answer for every project — it depends on budget, the home's design, and how exposed the wall is — but here's how the common options compare for a coastal Skagit County build:
| Frame Material | How It Handles This Climate | Maintenance | Typical Fit |
|---|---|---|---|
| Vinyl | Good moisture resistance; won't rot or corrode; can discolor under long UV/salt exposure over many years | Low — occasional cleaning | Cost-conscious builds and additions |
| Fiberglass | Excellent dimensional stability, holds paint well, handles temperature/moisture swings with minimal movement | Low | Higher-end new construction, exposed elevations |
| Wood (clad exterior) | Warm interior look, but the exterior cladding is doing the weather work — any breach in that cladding exposes wood to rot | Higher — watch cladding seams and interior finish | Design-driven projects where wood interior is a priority |
| Aluminum | Strong and slim sightlines, but conducts heat/cold and can corrode faster in salt air without a marine-grade finish | Moderate — watch fastener and frame corrosion | Modern designs, larger glass spans |
Glass Packages
For homes in the Skyline area, we generally recommend dual-pane, low-E glass as the baseline — it manages both energy performance and condensation resistance through the wet months. Homes closer to open water or on exposed elevations sometimes benefit from upgraded gas fills or laminated glass for additional sound and impact performance, but that's a project-specific conversation, not a blanket recommendation.
Our Process on New-Construction Jobs
Whether we're working directly for a homeowner adding a room or as a sub for a general contractor framing a new build, the process is the same:
- Plan review. We check window schedules against rough openings and elevations before anything is ordered, catching sizing or spec mismatches early.
- Rough opening verification. We confirm openings are square, correctly sized, and properly sheathed and wrapped before install day.
- Install to sequence. Sill pan, window set, flange integration, head flashing, sealant — in that order, every window, every time.
- Photo documentation. We document flashing details before siding closes over them, so there's a record of what's behind the wall.
- Final check. Operation, seals, and trim are checked once siding and trim work are complete around each opening.
Working the same neighborhood repeatedly means we already know the general wind exposure, typical wall assemblies, and inspection expectations that come up on Skyline builds — we're not learning the area on your job.
Mistakes We See on Jobs We're Called In to Fix
Most of the water damage we get called out to repair traces back to a small number of recurring install errors, not bad luck:
- Missing or flat (non-sloped) sill pan flashing that lets water pool instead of draining out
- Flange taped or sealed out of shingle-lap order, so water tracks behind the tape instead of over it
- Sealant applied everywhere "to be safe," which traps moisture that should have been able to drain out
- Fasteners that don't match the manufacturer's spacing or type, leaving the window under-secured against wind loads
- Head flashing skipped entirely on the assumption that siding trim alone will keep water out
Every one of these is avoidable with correct technique — they're not exotic problems, they're rushed ones.
After Move-In: A Simple Owner Checklist
A correctly installed new-construction window needs very little from you, but a short annual check catches problems while they're still cheap to fix:
- Check exterior caulk lines at trim and siding joints each spring for cracking or separation
- Look for staining or streaking below window sills, which can indicate a flashing or sealant issue upstream
- Operate every window at least once a season so hardware doesn't seize from disuse
- Clear moss and debris from sills and nearby siding during the wet season so water isn't held against the frame
- Watch for condensation between panes, which signals a failed seal on an insulated glass unit
Why a Crew That Already Works Skyline Matters
New-construction window installation is unforgiving of guesswork — once the siding closes over the flashing, there's no easy way to check the work again. A crew that regularly installs windows in this part of Skagit County has already seen how the local wind exposure, salt air, and long wet season play out against different flashing details, wall assemblies, and window products. That experience shows up in fewer surprises during inspection and fewer callbacks after the home is finished and lived in.
If you're planning new construction or an addition in the Skyline area and want windows installed correctly the first time, we're glad to walk the plans with you. Reach out for a free, no-pressure estimate using the form below.