 Anacortes Siding
 Windows Built for Skyline's Waterfront Exposure
Skyline sits close enough to the water that its homes take a different kind of weathering than houses further inland in Skagit County. The combination of salt-laden air off the bay, wind-driven rain that comes in sideways rather than straight down, and a long, damp moss season means windows here work harder than the manufacturer's spec sheet usually accounts for. A window that performs fine in a sheltered inland neighborhood can fail years early on a Skyline lot that faces open water or sits up on a slope exposed to prevailing winds.
We've replaced and repaired windows throughout this part of Anacortes long enough to know what actually goes wrong here, and it's rarely the glass itself. It's the flashing, the sealant, the frame material, and the installation details around the opening that determine whether a window lasts fifteen years or thirty-five.
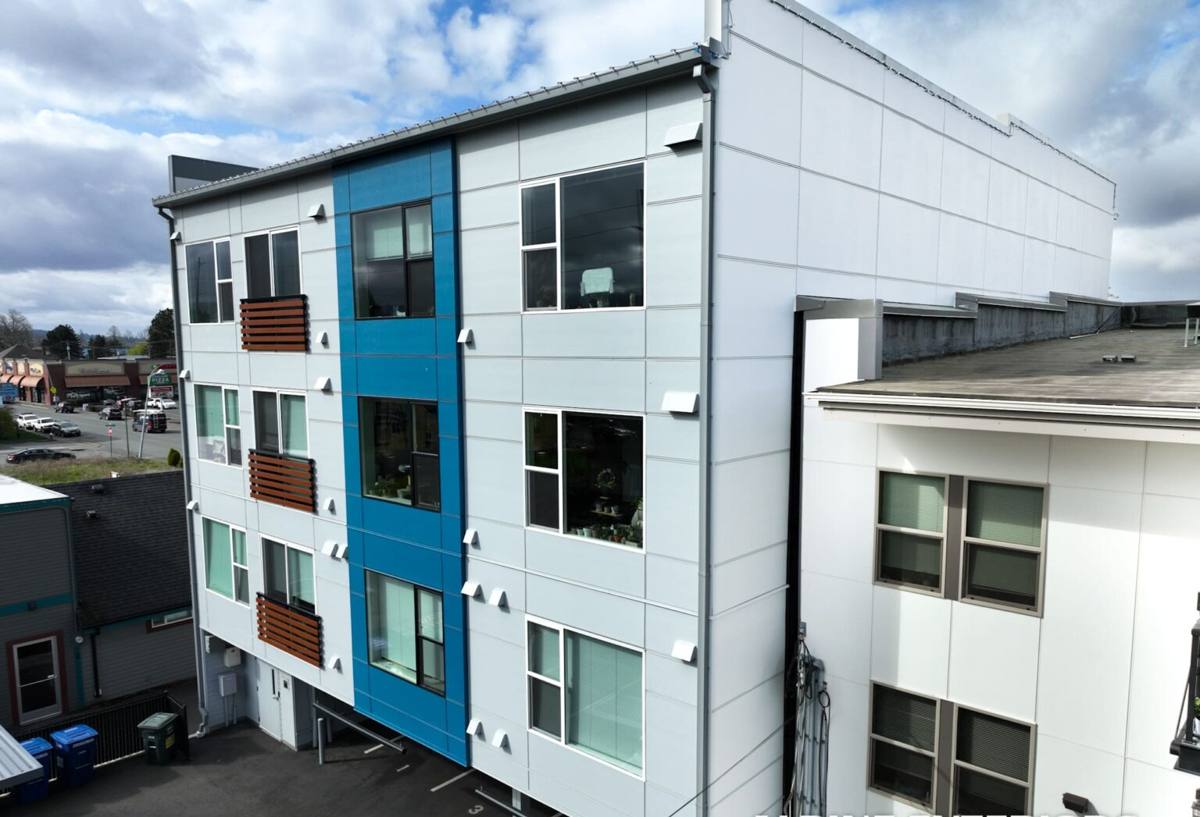
What Salt Air, Rain, and Moss Actually Do to a Window
Salt Air and Metal Hardware
Airborne salt accelerates corrosion on window hardware — hinges, cranks, balance mechanisms, and especially aluminum components that weren't specified for coastal exposure. On Skyline homes with a direct or partial water view, we see corroded hardware and pitted aluminum frames well before the glass units themselves show any sign of wear. This is why frame material and hardware finish matter more here than in a typical inland install.
Driving Rain and Wind Pressure
Wind off the water doesn't just add volume to a storm — it pushes rain sideways and upward under eaves, testing every seam in a window opening. Standard flashing details that rely on gravity alone to shed water aren't enough on an exposed Skyline elevation. The flashing and sealing sequence has to assume water will be forced against and around the window, not just run down the wall in front of it.
Moss and Sustained Moisture
Anacortes' mild, wet winters keep moss and algae established on north- and west-facing surfaces for much of the year. Around windows, that sustained moisture holds against sills, trim, and any gaps in the old caulking, slowly rotting wood trim and undermining seals that would otherwise last much longer in a drier climate.
Signs a Skyline Home Needs New Windows
- Fogging or a visible haze between the panes — the seal on the insulated glass unit has failed
- Soft or discolored wood trim around the frame, especially on the bottom sill
- Windows that are hard to open, close, or lock — often corrosion or frame swelling
- Persistent condensation on the inside of the glass during cold, wet weeks
- Drafts you can feel near the frame edges, even with the window fully latched
- Visible gaps between the trim and siding where caulking has cracked or pulled away
- Moss or dark staining building up on the sill or immediately below the window
Any one of these can show up on a home that's otherwise in good shape. Together, or left alone for a few more wet seasons, they point to water finding its way into the wall assembly — which costs far more to fix than the windows themselves.
What a Correct Installation Involves
Replacing a window is straightforward in concept and easy to do poorly in practice. The window itself is a small part of the job — the flashing and integration with the wall's water management system is what actually determines whether the install holds up.
Removing the Old Window Without Hidden Damage
We remove the old unit carefully and inspect the rough opening before anything new goes in. This is where we find rot, soft sheathing, or old flashing that's failed silently behind the trim — problems that don't show from outside but will ruin a new window if left in place.
Flashing and Water Management
Every opening gets flashed in a shingle-style sequence — sill pan first, then side flashing, then head flashing — so water is directed out and down, never trapped behind the window. On exposed Skyline elevations facing wind and open water, we pay particular attention to head flashing and kick-out details, since that's where wind-driven rain finds its way in on a standard install.
Sealing and Insulating the Gap
The gap between the window frame and the rough opening gets insulated and air-sealed correctly — not just packed with fiberglass, which does nothing to stop air movement, and not over-filled with expanding foam, which can bow the frame and cause the window to bind.
Exterior Trim and Caulking
Exterior trim gets re-installed or replaced with attention to end grain and joints, since that's where wood trim starts absorbing moisture first. Caulking is applied at the joints that actually need it — over-caulking a window traps moisture behind trim just as effectively as leaving a gap does.
Choosing Materials for a Marine Climate
Frame material matters more on an exposed Skyline lot than it does further inland. Here's how the common options hold up against salt air, sustained moisture, and driving rain.
| Frame Material | Salt Air / Corrosion Resistance | Moisture Behavior | Maintenance |
|---|---|---|---|
| Vinyl | Good — no metal corrosion, won't rust | Doesn't absorb water; seams need periodic sealant check | Low — occasional cleaning |
| Fiberglass | Very good — stable, doesn't corrode or expand/contract much | Excellent moisture resistance, holds paint well if colored | Low |
| Wood or Wood-Clad | Fair — cladding protects exterior, but any breach exposes wood to rot | Vulnerable if seals fail; needs prompt repair of any gaps | Higher — regular inspection of cladding joints |
| Aluminum | Poor to fair without marine-grade coating — prone to pitting near salt water | Conducts cold and can promote condensation | Moderate — hardware needs monitoring |
We don't push one brand as the only answer, because the right choice depends on the specific exposure of your lot, your home's existing trim style, and your budget. What we do insist on is a frame and hardware combination that's actually suited to a marine climate — not a builder-grade product chosen for a market that never sees salt air.
Our Process, Start to Finish
- Site walk and assessment — we look at each window's exposure, the condition of the rough openings where accessible, and any existing trim or moisture damage
- Measurement and product selection — exact measurements for each opening, and a frank conversation about which materials fit your home's exposure and budget
- Scheduling around weather — we plan installs to minimize the time any opening sits without a window in place, which matters on a site that gets driving rain with little warning
- Removal and opening inspection — old units come out, and we check the sheathing and framing before anything new is installed
- Flashing, installation, and sealing — the window goes in with correct flashing sequence, air-sealing, and fastening per the manufacturer's requirements
- Exterior trim and cleanup — trim is finished, caulked where appropriate, and the site is left clean
- Final walkthrough — we operate every window with you and confirm locks, cranks, and seals before we consider the job done
What Affects the Cost
Every Skyline home is different, and pricing depends on more than just the window unit. The factors below are what typically move a quote up or down.
| Factor | Why It Matters |
|---|---|
| Number and size of windows | Larger openings and picture windows cost more per unit than standard sizes |
| Frame material | Vinyl is generally the most economical; fiberglass and wood-clad cost more upfront |
| Condition of the rough opening | Rot or sheathing damage found during removal adds repair work before the new window goes in |
| Exposure and elevation | Wind- and rain-exposed elevations may need more thorough flashing detail |
| Trim and siding integration | Matching existing trim profiles or siding types adds labor |
| Access | Second-story or hard-to-reach windows take more time and equipment |
We give straightforward, itemized estimates so you can see what you're paying for — no vague lump sums that hide whether you're getting a real flashing job or just a window dropped into the old opening.
Why a Crew That Already Works Skyline Matters
Window installation isn't complicated on paper, but the details that determine whether it lasts are specific to where the home sits. A crew that's already worked homes in Skyline knows which elevations take the worst of the wind, which trim styles are common in the neighborhood, and what condition to expect in rough openings on homes of a given age. That familiarity means fewer surprises during removal and a flashing approach that's already matched to what this particular stretch of Anacortes actually throws at a house — rather than a generic approach that assumes a calmer, drier site.
It also means we're not learning on your home. We've seen what happens when wind-driven rain finds a gap in standard flashing on an exposed water-facing wall, and we build around that from the first window, not the last.
Maintaining Your New Windows
A correct installation buys you decades of performance, but a little seasonal attention keeps it that way in this climate.
- Rinse salt residue off frames and glass periodically, especially after storms with onshore wind
- Check exterior caulking each fall for cracks or gaps before the wet season sets in
- Clear moss and debris from sills and tracks so water doesn't sit against the frame
- Lubricate hardware — hinges, cranks, locks — periodically to keep salt air from seizing moving parts
- Watch for soft spots in exterior trim, which signal a seal has failed somewhere nearby
- Keep gutters and downspouts clear so roof runoff isn't sheeting down across window heads
If your Skyline home has windows showing any of the wear signs above, or you're planning ahead of the next wet season, we're happy to take a look and give you a straightforward, no-pressure estimate — just fill out the form below.