 Anacortes Siding
 Windows Built for Flounder Bay's Marine Climate
Flounder Bay sits close enough to the water that homes there deal with a different set of conditions than houses a few miles inland in Anacortes. Salt-laden air, near-constant humidity, driving rain off Rosario Strait, and a moss season that can stretch from fall through spring all put extra stress on window assemblies. Frames, seals, and flashing details that hold up fine in a drier part of Skagit County can fail years earlier out here if they weren't chosen and installed with this environment in mind.
Window installation isn't just picking a style and setting it in the opening. In a location like Flounder Bay, the product, the flashing method, and the sealant strategy all need to account for wind-driven moisture and salt exposure. That's the difference between a window that looks fine for a couple of years and one that actually performs for decades.
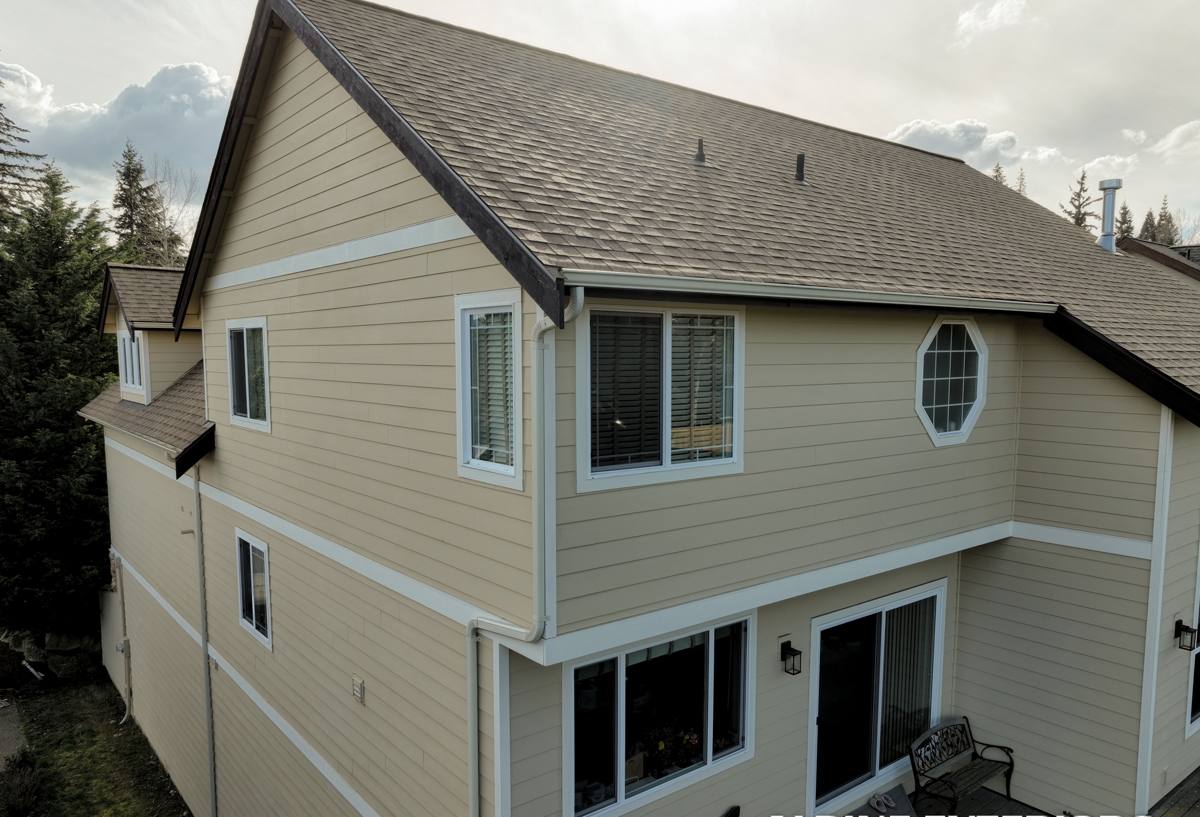
What Salt Air and Coastal Moisture Do to Windows Over Time
Homes near the water take on airborne salt, which is corrosive to certain metals and hardware. Combined with the region's rainfall and humidity, this creates a few predictable failure patterns we watch for on every Flounder Bay project:
- Corrosion on lower-grade aluminum or steel hardware, cranks, and locks
- Premature breakdown of cheap seals and gaskets exposed to salt spray and UV
- Wood rot at sills and corners where flashing was installed incorrectly or skipped
- Moss and algae growth on north-facing or shaded frames that stay damp longer
- Fogged or failed insulated glass units (IGUs) when the edge seal breaks down early
None of this means windows can't last in Flounder Bay — it means the material choices and installation details matter more here than they would somewhere drier and further inland.
Why "Standard" Installation Isn't Enough Near the Water
A window that's simply set into an opening, foamed around the edges, and trimmed out will often pass a casual inspection. The problem shows up later — usually as a soft spot in the sill, a stain on interior trim, or a window that's suddenly hard to open. In a coastal-influenced spot like Flounder Bay, we treat flashing, drainage, and sealant selection as the parts of the job that actually determine how long the installation lasts, not just the window unit itself.
Choosing the Right Window Materials for This Location
There isn't one "best" window for every home, but there are material trade-offs worth understanding before you commit to a product.
| Material | How It Handles Salt Air & Moisture | Maintenance |
|---|---|---|
| Vinyl | Doesn't corrode; performs well in coastal air when hardware is quality-grade | Low — occasional cleaning |
| Fiberglass | Very stable in temperature and humidity swings; strong resistance to moisture-related warping | Low |
| Wood (clad exterior) | Good if the exterior cladding is intact; exposed wood is vulnerable to rot near the water | Moderate to high on unclad units |
| Aluminum | Prone to corrosion and condensation issues unless it's a marine-grade or thermally broken product | Moderate — watch hardware and finish |
We're not going to tell you every homeowner needs the most expensive option on this list. What we will tell you honestly: in a location exposed to salt air like Flounder Bay, we steer people away from bare aluminum and unclad wood on exposed elevations, not because the materials are bad products, but because they demand a level of upkeep most homeowners don't want to sign up for. Vinyl and fiberglass tend to be the lower-maintenance, more predictable choices for this specific setting.
Flashing and Sealing: The Part That Actually Prevents Leaks
Most window failures we see aren't caused by the window itself — they're caused by water getting behind it. Correct installation in a wet, wind-exposed area follows a sequence, and skipping steps is what leads to hidden rot:
- Inspect and repair the rough opening and sheathing before anything goes in
- Install a sloped sill pan so any water that gets past the window drains back out, not into the wall
- Apply flashing tape in the correct shingle-lap order — sill, jambs, then head — so water always sheds downward and outward
- Set the window plumb, level, and square, then fasten per the manufacturer's specs
- Seal the exterior perimeter with a sealant rated for the substrate and our climate, leaving the bottom weep path clear
- Insulate the gap between frame and rough opening without over-compressing it, which can bow the frame
- Finish interior and exterior trim so water is directed away from the assembly, not pooled against it
Every one of these steps matters more in a driving-rain, salt-air environment than it would in a sheltered inland location. A window installed without a proper sill pan or with the flashing lapped backward can look perfect on move-in day and still leak within a year or two.
Moss, Algae, and North-Facing Exposure
Skagit County's long moss season isn't just a roof problem. Window sills, frames, and the trim around them on shaded or north-facing walls can stay damp for extended stretches, especially under tree cover or where a roofline blocks direct sun. Moss and algae hold moisture against the frame and finish, which accelerates wear on lower-quality materials and can stain both vinyl and wood-clad units over time.
When we install windows in shaded or heavily treed parts of Flounder Bay, we factor this in — recommending finishes and trim details that shed water quickly and don't give moss an easy foothold, and making sure drainage paths at the sill aren't going to trap standing moisture.
Energy Performance in a Marine Climate
Western Washington's mild but damp climate means window performance is less about extreme cold and more about controlling condensation, drafts, and consistent comfort year-round. Look for these factors when comparing window options:
- U-Factor — lower is better for keeping heat in during our cool, wet months
- Condensation resistance — important given the humidity levels near the water
- Air leakage rating — tighter seals matter more with wind coming off the strait
- Glass package — double or triple pane with quality low-E coatings for comfort and efficiency
A correctly installed, well-rated window also reduces interior condensation on cold mornings — a common complaint in older single-pane or poorly sealed windows in this area.
Our Installation Process
When we take on a window installation project in Flounder Bay, the process generally looks like this:
1. On-Site Assessment
We look at existing window condition, sill and frame health, exposure direction, and any signs of past water intrusion before recommending anything.
2. Product Selection
We walk through material and glass options honestly, including trade-offs for maintenance and long-term performance in this specific location — not just upfront cost.
3. Removal and Opening Inspection
Old windows come out carefully so we can inspect the rough opening and sheathing underneath. This is often where hidden rot or past flashing mistakes get found and corrected before a new window goes in.
4. Correct Flashing and Installation
We follow the sequence outlined above — sill pan, properly lapped flashing, correct fastening, and sealant — every time, not just on jobs where it's requested.
5. Finish and Walkthrough
Interior and exterior trim is finished, operation is tested on every window, and we walk the homeowner through what was done.
Why Local Experience with Flounder Bay Homes Matters
A crew that mainly works drier, inland jobs can still install a window correctly on paper and still miss the details that matter in a place like Flounder Bay — how much sealant to use given the wind exposure, which finishes hold up against salt air, or how a shaded elevation needs different drainage attention than a sun-exposed one. Working regularly in Anacortes and along the Skagit County coastline means we've seen how different products and installation approaches actually perform here over years, not just how they look going in.
Signs Your Flounder Bay Home Needs New Windows
Not every window needs full replacement — but these signs usually mean it's worth an inspection:
- Visible fog or moisture trapped between glass panes
- Soft or discolored wood at the sill or surrounding trim
- Windows that are difficult to open, close, or lock
- Noticeable drafts or cold spots near the frame
- Condensation forming on interior glass regularly during cool months
- Visible corrosion on hardware or frame components
- Moss or persistent green growth on sills or frame edges
If you're weighing new windows or a repair for a home in Flounder Bay, we're happy to take a look and give you a straightforward, no-pressure assessment. Use the form below to request a free estimate, and we'll walk the property, talk through your options, and give you honest numbers before any work begins.