 Anacortes Siding
 Building New in Ship Harbor: What the Site Actually Throws at Your Windows
Ship Harbor sits close enough to the water that salt-laden air, wind-driven rain off Rosario Strait, and a long gray moss season are just part of building here, not an occasional inconvenience. A new home going up in this part of Anacortes needs its windows treated as a system that has to perform for decades in that exposure, not just a set of openings that get boxes dropped into them once framing is done. On a remodel you're often working around what's already there. On new construction, you get one real shot at getting the window opening, the flashing, and the water management right before siding and trim close everything up. That's the advantage of new-construction window work — and also the reason a mistake made here is expensive to find later.
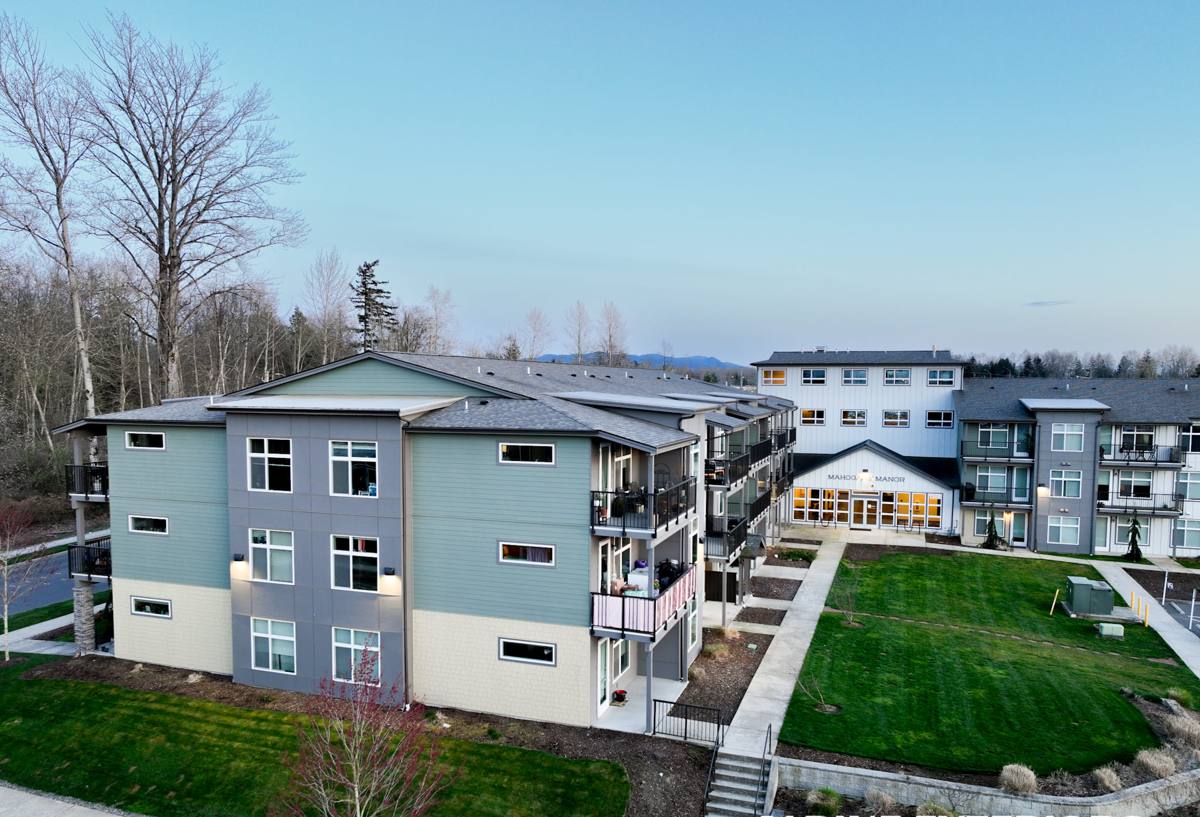
What "Correct" Means for New-Construction Window Installation
New-construction windows use a nail fin (or flange) that gets integrated directly into the wall's water-resistive barrier during framing, before siding goes on — as opposed to retrofit windows, which get inserted into an existing frame after the exterior is already finished. Because the window is installed at the same time as the building envelope, the installation sequence matters as much as the window unit itself.
The sequence we follow, in order
- Rough openings checked for square, level, and correct sizing against the window schedule — not assumed correct just because framing looks close.
- Sill pan flashing installed first, sloped to drain outward, so any water that gets past the window has somewhere to go besides your subfloor.
- Window set, shimmed, and fastened per the manufacturer's instructions — over-driving or under-driving fasteners is a common cause of frame distortion and seal failure down the road.
- Jamb and head flashing integrated with the weather-resistive barrier in the correct shingle-lap order, so water is always directed outward and downward, never into the wall cavity.
- Interior and exterior sealant applied at the right joints only — sealing every gap sounds thorough but can trap moisture that has no way to escape.
Skip or reverse any one of these steps and the window can look perfect for years while water is quietly working its way into the wall assembly behind it. That's the failure mode we're guarding against on every new build in Skagit County, and it's the one that's cheapest to prevent and most expensive to fix.
New-Construction vs. Replacement Windows: Why the Distinction Matters Here
We get asked occasionally whether it matters which type of window goes into a new build. It does, and the difference isn't cosmetic.
| Factor | New-Construction (Nail Fin) | Replacement (Insert/Retrofit) |
|---|---|---|
| Installed against | Open framing, before siding | Existing finished frame |
| Water management | Integrates with WRB and flashing directly | Relies on existing frame and sealant |
| Best use case | New builds, additions, full wall reframes | Swapping a window without disturbing siding/trim |
| Long-term moisture resistance in coastal exposure | Highest, when flashed correctly | Good, but limited by the condition of the original opening |
Using a replacement-style window on new construction (or vice versa) is a shortcut that trades long-term performance for a slightly faster install. On a Ship Harbor build, where wind-driven rain and salt exposure are a given, that shortcut shows up as callbacks in five to ten years, not immediately — which is exactly why it's easy to miss during a walkthrough.
Choosing Frame and Glass for This Exposure
Frame material and glass package both affect how a window holds up near the water. There's no single "best" answer for every home — it depends on the elevation facing the water, sun exposure, and the look the design calls for — but here's how the common choices compare for this specific climate.
| Frame Material | Salt Air / Moisture Behavior | Maintenance |
|---|---|---|
| Vinyl | Doesn't corrode; performs well in coastal air | Low — occasional cleaning |
| Fiberglass | Very stable, resists expansion/contraction from temperature and moisture swings | Low |
| Aluminum-clad wood | Good exterior protection, but any breach in the cladding exposes wood to moisture | Moderate — watch cladding seams over time |
| Bare wood | Attractive, but highest exposure risk in driving rain and salt air without diligent upkeep | High |
For most Ship Harbor elevations facing the water or prevailing weather, we lean toward vinyl or fiberglass for the moisture and low-maintenance advantages. Where a homeowner wants a wood interior look, clad options let you get that appearance on the inside while keeping a weather-resistant exterior face — as long as the cladding and flashing details are done correctly at the corners and sills, which is where most clad-window failures actually start.
Glass and weatherstripping
Dual-pane, low-E glass is standard for this climate and helps with both condensation control and comfort near single-pane cold spots. Weatherstripping quality matters more here than in drier climates — driving rain will find a weak gasket seal, especially on window walls facing open water or unobstructed wind.
Flashing and Air/Moisture Barrier Details That Get Skipped Elsewhere
Most window failures we're called to look at, on any home near the water, trace back to flashing details rather than the window unit itself. A few specifics we don't skip on new builds:
- Sill pans with back dams, not just a strip of tape across the bottom of the opening
- Corrosion-resistant fasteners appropriate for coastal exposure, not standard interior-grade hardware
- Proper shingle-lap order between flashing tape, WRB, and window flange — water always directed down and out
- Continuous sealant at the head flange only where the manufacturer specifies it, leaving the sill free to drain
- Coordination with siding and trim crews so window details aren't buried or altered after the fact
None of this is unusual or specialized — it's what the window manufacturers themselves specify in their installation instructions. The issue is that it takes more time than a fast, generic install, and in a lot of new-construction schedules, windows get treated as a quick trade pass rather than a system that needs coordination with framing and siding crews.
How the Process Works With Your Build Schedule
New-construction window work has to slot into the framing-to-siding sequence at the right moment, so timing coordination with your general contractor or framing crew matters as much as the install itself.
Typical sequence
- Window schedule review against the plan set — sizes, egress requirements, and swing/operation types confirmed before ordering.
- Lead time on order placed early, since manufacturer lead times can run several weeks and a delay here holds up the whole envelope schedule.
- Rough opening verification once framing is complete, before windows arrive on site.
- Installation and flashing integration, coordinated with whoever is installing the WRB and siding.
- Final walkthrough — operation, seal, and flashing check before siding crews close things up for good.
Because Anacortes gets a real wet season, we also pay attention to weather windows for the install itself — flashing and sealants need dry, workable conditions to bond correctly, and rushing that step in a downpour is how call-backs get created.
A Practical Checklist Before You Sign Off on Window Rough-In
If you're a homeowner overseeing a build, or a GC bringing in a window sub, this is worth walking through before siding closes the wall up:
- Rough openings match the approved window schedule, not just "close enough"
- Sill pan flashing is present and sloped to drain outward, not flat
- Flashing tape overlaps in shingle-lap order — check this before it's covered
- Fasteners are corrosion-resistant, appropriate for coastal/marine exposure
- Window operates smoothly and locks fully before final sign-off
- Photos taken of flashing details before siding covers them — cheap insurance for later
Why a Crew That Already Works Ship Harbor Matters
None of the details above are secret — they're in the manufacturer's own installation guides. What actually varies between crews is whether those steps get followed consistently when nobody's specifically checking, and whether the crew has already seen how this particular stretch of Skagit County coastline behaves through a full wet season. A crew that's worked other builds in and around Anacortes has already made the adjustments — sequencing around the weather, choosing hardware and sealants rated for salt exposure, coordinating with local framing and siding trades — that a crew unfamiliar with the area has to learn on your project. On new construction, where the window install becomes part of the wall assembly permanently, that experience is what keeps a good-looking install from becoming a moisture problem five winters from now.
If you're planning new construction in Ship Harbor and want the window package handled correctly from rough-in through final trim, we're happy to walk the plans with you and put together a straightforward, no-pressure estimate — just fill out the form below.